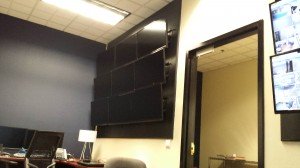
You might be reading this and thinking this is just a rehash. I can assure you, this is a new post! We’ve put together yet another TV wall at my office. Two TV walls for a total of 19 TVs in the two person office. 2 3×3 TV walls and a lone 40 incher above my desk. I’ve already explained the process of purchasing the TVs, because lets face it, it’s difficult. What I didn’t cover was the work that goes into installing the monstrosity.
First, since the wall isn’t solid or very sturdy for that matter, we have to mount some plywood to the wall to help secure the TVs. Before we mount the plywood, we’ve got to paint it to ensure the finished product is pretty.
So now that the paint is dry, we’ve got to mount it to the wall and fill in all of the screw holes with putty. Then! we get to paint again!
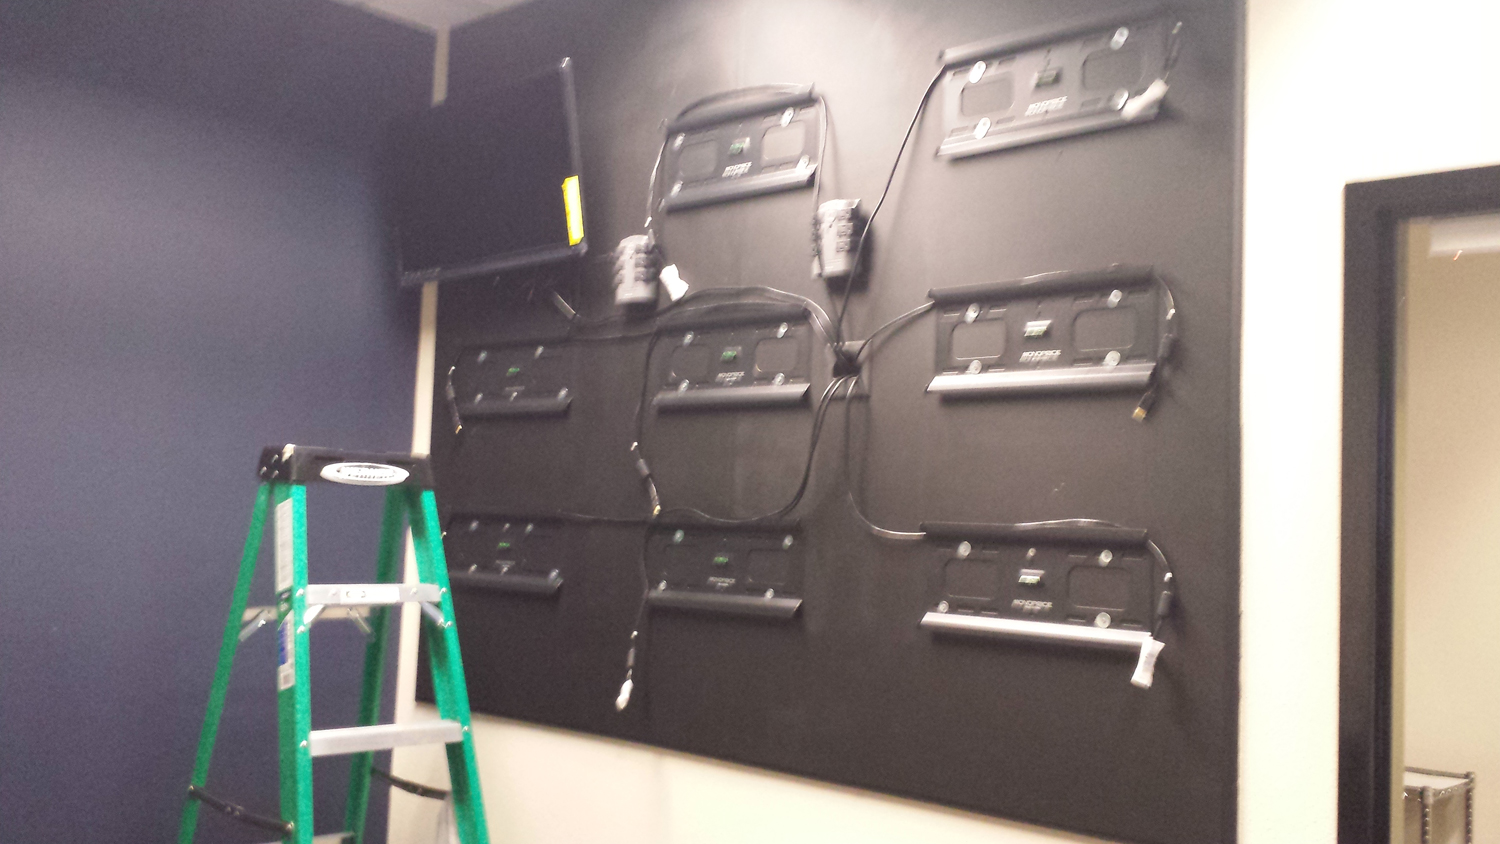
Now the fun starts! You’ve got the plywood mounted up and hopefully dry paint. Time to put up the wall mounts. Laser level is key in making this part go quickly. We also cut some holes for our HDMI cables and power. This also required us to run some conduit through the (thankfully) drop ceiling.
So now we get to the “risky” part. It’s never easy trusting a mount with a brand new TV. It just doesn’t ever feel right setting the TV on there. If you’ve ever mounted a TV on the wall, you know what I’m talking about, the slow terrifying release with your hands ready to catch a falling tv at any second. Thankfully, I’ve never dropped a TV and don’t plan on it.
One down, 8 to go! After lots of coffee and patience, all 9 32 inch TVs are installed on the wall. The real work has just begun. Connecting 9 displays to any computer is a task. Figuring out what connectors to use with Eyefinity is also a challenge. With the first TV wall build, we went the trial and error route because there simply wasn’t enough documentation. It deserves a post all in itself, so that will come soon. Be ready for it.
Here you can see all 9 of the TVs on the wall. They are currently only connected to power and they all work! The HDMI cables have all been run through the wall and the PC is setup, just need some connectors to get it running. Be on the look out for part two!

