
I build a lot of websites. Over the years I’d say I’ve made a few hundred sites for all sorts of clients. Clearly, wordpress is the leader when it comes to putting together a quick website without any real features. It also comes with the need for updates, lots of them. This can be a real headache for people like me who just want to build a one off website, and not really think about it again until a client requests something different. I’m not talking about fully built SEO machines. I’m talking about the small web presence websites for small companies that just need something quick and don’t want to burn a lot of time on the thing. Rather than have these websites occupy a good deal of my time, I built a rapid development empty shell of a website that could be easily altered and adapted to become anything rather quickly. Essentially, the method employed allows us to separate the content from the theme.
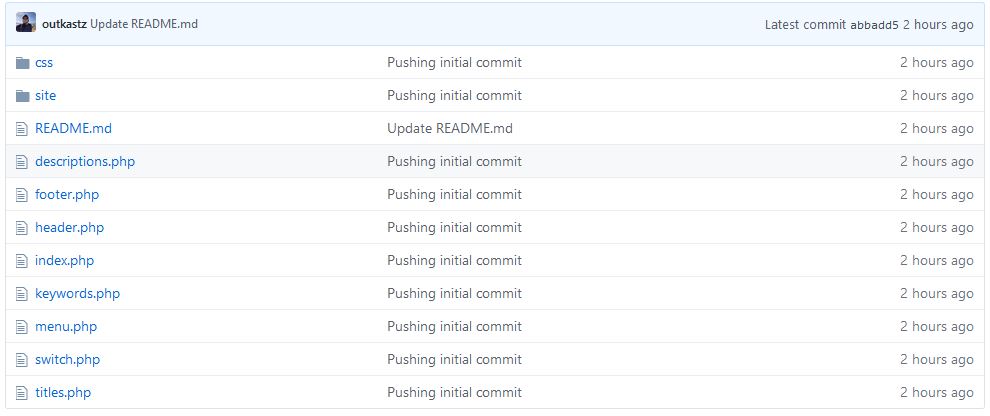
I’ve recently published a version of this quick-start website to my GitHub. It’s exactly as it sounds. It’s a basic, empty frame of a dynamic, yet flat file, website. It’s built using PHP and very minimal HTML. It’s easily adaptable to pretty much any website. I’ve used it with bootstrap and many other frameworks. Often times, I’d pair it with a free website template from one of those free template sites. I know I could have crammed the descriptions, keywords, titles, etc. in the same switch, but I wanted to break it up so it’d be a bit less of a mess and easier to follow for those who might be learning.
To use it, you’ll just want to download a copy from GitHub. Grab a template from your favorite template website, and maybe snag some images to make it a bit less empty. It’s almost that easy!
Download link here
Demo link here
Overview
Before we get started, let’s talk about the structure of the website as it stands without a template.
Content Pages:
There are 3 bundled (content) pages that serve as a quick example. They live in the “site” directory.
- Home
- Page2
- Page3
You can add more, but this was just a placeholder to make sure everything worked. These placeholders hold different content so you can verify you are getting the correct data.
switch.php
This is what tells the website which page to show. You’ll need to alter this page if you rename your pages or want to add more pages. In lamens terms it’s doing the following. If x = home then show the content from /site/home.php. So what is X? In the URL you can set x to whatever you want.
Ex: https://outkastz.com/shell/?x=home
header.php
This is everything you’d want in the header section of your website. This data is usually reused on every page, so why make every page hold this data? Just put it in this file, and include this file in every page. Much simpler, and you only have to edit one file if you want to change anything.
footer.php
Much like header.php, you use this on every page anyway, let’s keep file sizes down and reuse this same file on each page.
keywords.php, descriptions.php, titles.php
These pages all function similarly and are much like switch.php. These files echo data based on what the “x” variable is. You’ll need to expand them and alter them should you change switch.php or add more pages.
menu.php
This is where your navigation links go. I personally like to break this out from the header just so it’s easier to find and edit without having to dive into the code. This lets me add pages just a bit quicker when I revisit a website many moons later.
css/style.css
This is where your fancy css stylesheet will live. I mean, it doesn’t have to, I just like to hide it in a folder so it’s out of the way.
Tutorial
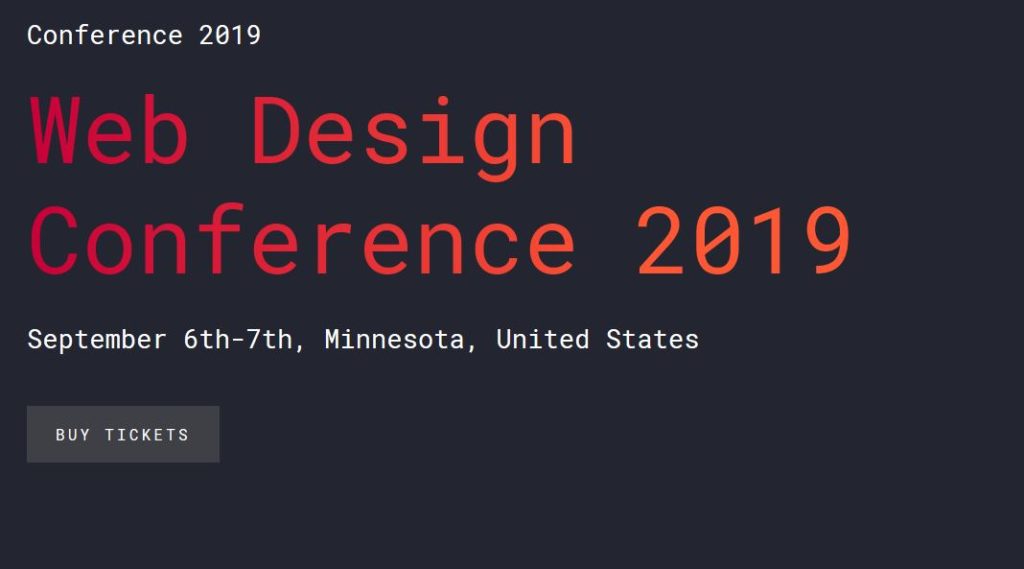
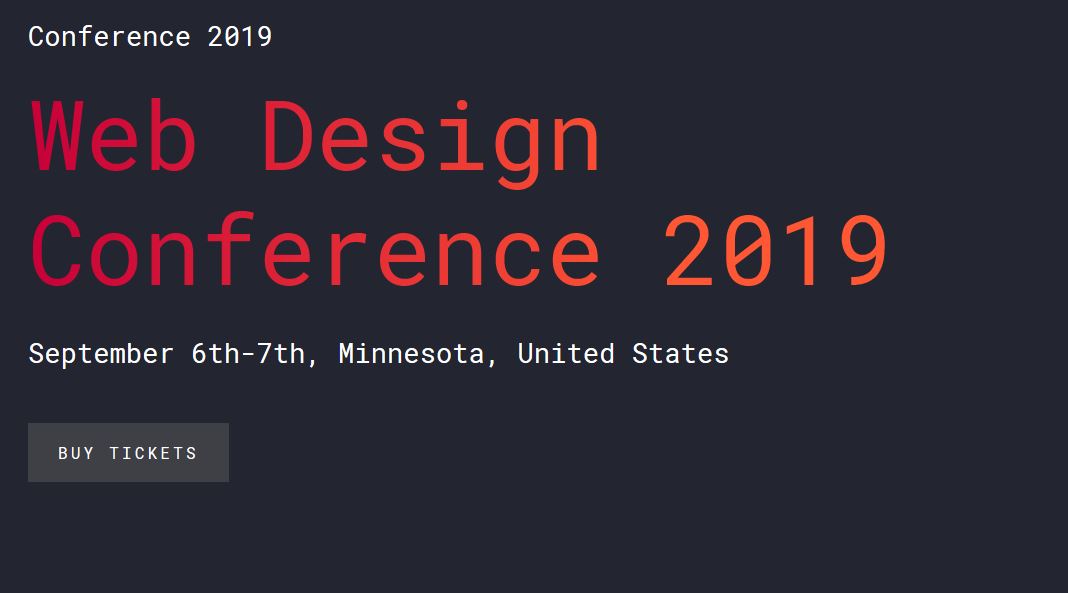
Now that we have a basic grasp on the files. Lets attempt to implement this with a theme! For this, I’ve chosen the workshop theme from Colorlib. You can download that here: Link.
Disclaimer: I’ve never used this theme before and I’ve got no relation to this website. Was a quick result on google. The theme looks clean, and easy to implement. We aren’t going to alter content, just going to push this theme into my shell.
- Download and extract my files from Github
- Upload those files to your web server in the web root
- Download and extract the workshop files
- Upload the css,fonts,images,js,scss directories also to the web root. It may ask about overwriting the style.css file. Please overwrite it. Don’t upload the html files. We need to edit them.
- Basically, you will want to take the top half of their index.html file and merge it with our header.php file. In our current header.php file, we have some php includes that we’ll need to save and use with their code. We’ll also want to extract the menu out of the header and place it into the menu.php file. You can see how I did it by checking the source files here:
- Since we needed to include menu.php in the middle of our header.php file, we no longer need to include it in the index.php file. So we will remove that.
- We’ve made it to the end of the </header> portion in the index.html file included in the workshop template. Let grab the content portion of that page and put it in the home.php file in the site directory. This will keep the content separate from the theme.
- Finally, now that content is out from index.html, we need to grab the remainder of the file and place it in the footer.php. The footer also has a menu in it, so we made a new file next to footer.php in the web root named footermenu.php, and placed the code for that in there. While I was at it, I also updated the links to point to our other pages. We then placed a php include for the new file in the footer.php file. You can check the source to see what I’m talking about.
- Great! At this point the home page should now work with the downloaded theme. We are going to snag the content out from the about page and place it in page2.php and do the same with the speakers page and page3.php
- Obviously you’ll need to edit all of the content and probably add some more pages. Now that you are all setup with the template, that should be relatively easy!
You can view the website complete with template at the following link: https://outkastz.com/shell-workshop/. As always, if you have any questions, please feel free to comment and I’ll be sure to try and answer them.