

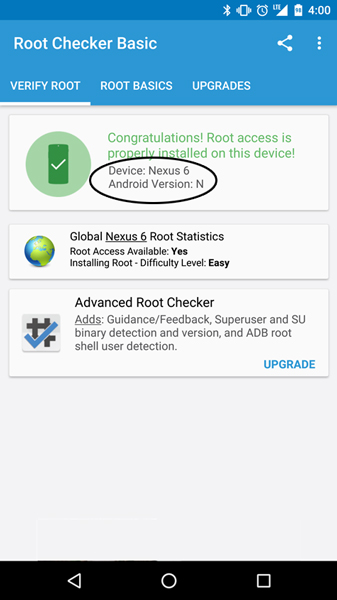
So, I would consider myself an early adopter. I did the whole Google Glass thing, I had a smart watch before it was cool and I got to play with HTC’s Vive well before the release date. So, I think the title would be fair. When Google announced the Android N Beta Preview to the public, of course I’d make the jump. I was planning on doing it regardless since I do still operate an Android Developer account. Since it was a public beta, Google did a good job to make sure installing it was easy. I prefer flashing it manually, but I opted for the OTA. It kept all my data intact but I lost my recovery, no big deal since my next “roms” would be updates to Android N direct from Google anyways. I also lost root, but thanks to Chainfire, it was easily gained again.Here are the steps I followed to root my Motorola Nexus 6 running build number: NPC56P
These steps should be interchangeable with any Nexus device running N Preview 1. However, disclaimer that I won’t be held responsible if this bricks your phone.
Gain Root:
- Head on over to XDA and grab the latest auto root tool from Chainfire. Make sure you get the one that matches your device. He’s a nice guy so he named the files accordingly. – Link
- Ideally, you extract the files, put the phone in fastboot (power off, then turn on holding all three buttons) and run the “root-XXXXXXX” file and it’ll take you through the rest. Note, if your bootloader is locked, you will want to back up your data first since this will wipe the phone.
- If this doesn’t work for you, you can run the commands manually. I had an issue with Windows 10. To make things easier, I opened a command prompt in the tools folder (on windows I navigated in the file explorer and held shift+right click to get the open command prompt option) and then I went back to the image folder and renamed the file to boot.img and copied it into the tools folder. This will make running the commands much shorter and less error prone.
- To unlock the bootloader (if already done, skip this step): In the command prompt, run:
- fastboot-windows.exe oem unlock
- fastboot-windows.exe flashing unlock
- To root the phone, run:
- fastboot-windows.exe boot boot.img
- Your phone will reboot multiple times. This is desired, no worries.
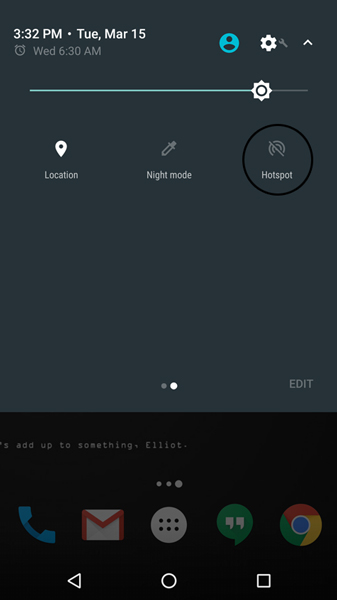
Enable Tethering:
To enable tethering, you’ll need to run the following command via ADB or terminal emulator. You need to flash the boot.img from the “Gain Root” section above because it won’t work otherwise.
- From command prompt, run the following command:
- adb shell (if using ADB otherwise just run shell in terminal emulator)
- settings put global tether_dun_required 0 (can be done in terminal emulator too)
- Exit command prompt
- Edit your build.prop file (I use Rom Manager Premium since I bought it many moons ago, but any method root file editor works) by adding the following line at the bottom:
net.tethering.noprovisioning=true
Hint: build.prop is located in the system directory. You will need root to edit this file. - Reboot phone
- Enjoy tethering!